Connecting Your AWS Account
InfraMap connects to your AWS account using a secure, read-only IAM role. We never require or store your AWS credentials. Instead, you deploy a CloudFormation template that creates a transparent IAM role with explicit read-only permissions that you can inspect before creation.How It Works
InfraMap uses a cross-account IAM role that you create in your AWS account. This role has:- Read-only access to the AWS services InfraMap needs to discover your resources
- Explicit permissions that you can review before deployment
- No write or delete permissions - InfraMap can only read your infrastructure
- Transparent configuration - you see exactly what permissions are granted
Prerequisites
Before connecting your AWS account, ensure you have:- An AWS account with appropriate permissions to create IAM roles and CloudFormation stacks
- Access to the AWS Console
Step-by-Step Connection
Step 1: Navigate to Connection Settings

Step 2: Launch CloudFormation Stack
InfraMap provides a pre-configured CloudFormation template that you’ll deploy in your AWS account. Click the “Launch CloudFormation Stack” button, which will:- Open the AWS CloudFormation Console in a new tab
- Pre-fill the stack template URL
- Pre-populate the necessary parameters
Step 3: Review the CloudFormation Template
Before creating the stack, you can review the CloudFormation template to see exactly what will be created:- IAM Role: A read-only role that InfraMap will assume
- IAM Policy: Explicit read-only permissions for AWS services
- Trust Policy: Allows InfraMap’s AWS account to assume the role
View complete CloudFormation IAM Role Template
View complete CloudFormation IAM Role Template
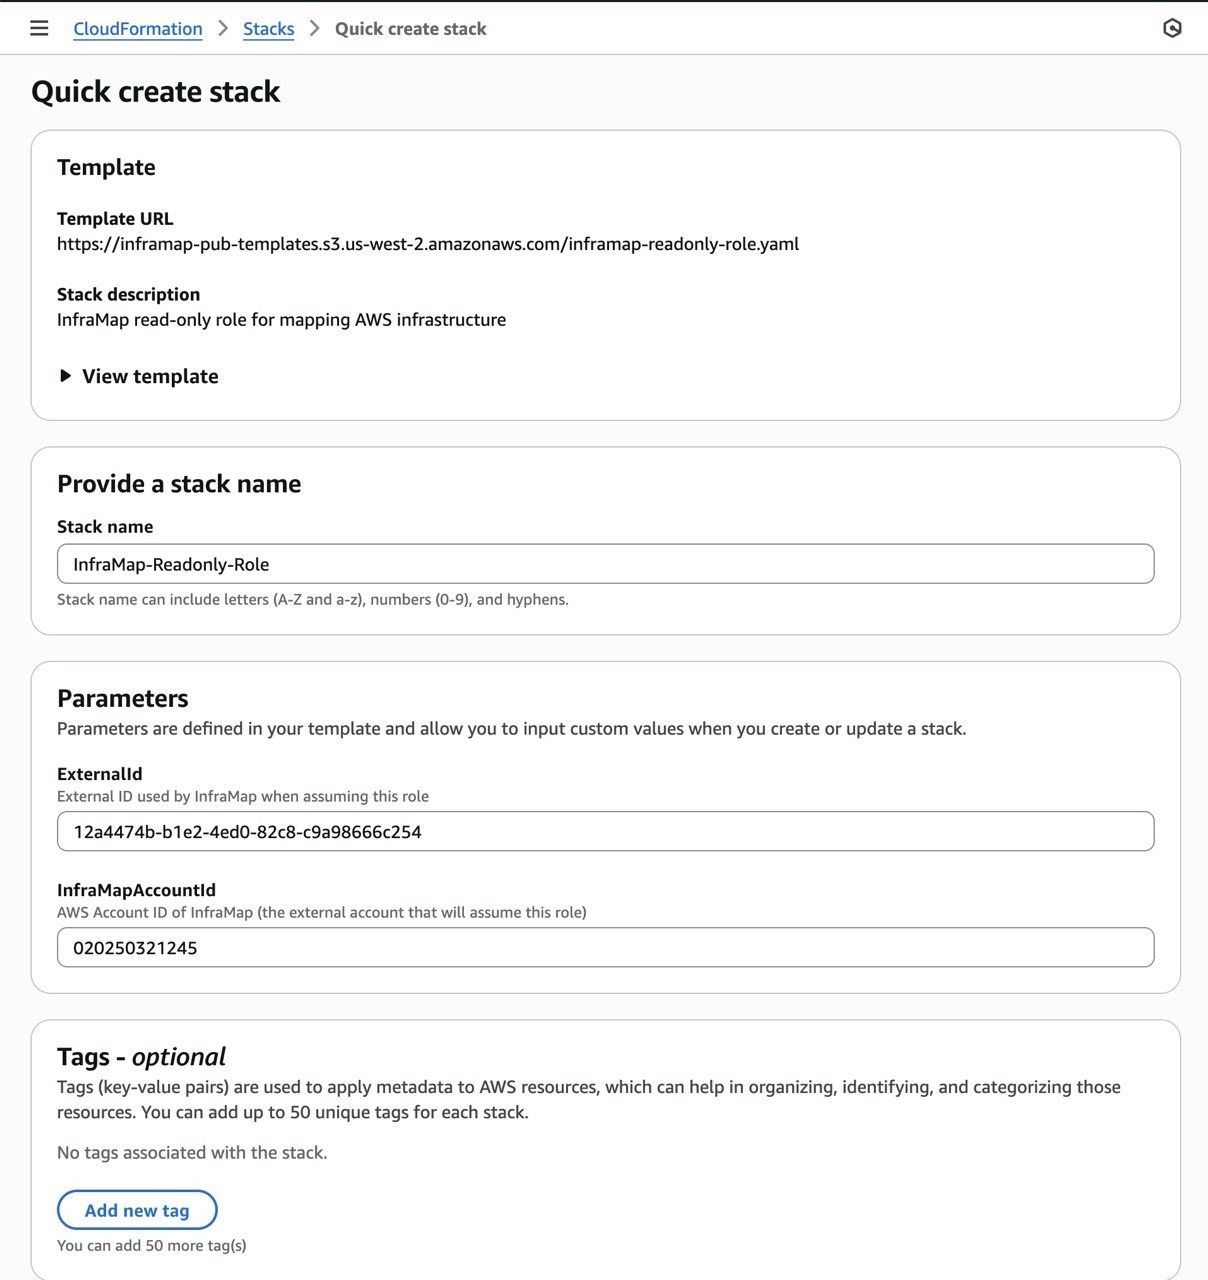
Step 4: Create the Stack
- Review the stack configuration. All fields are pre-filled.
- Acknowledge that CloudFormation may create IAM resources
- Click “Create stack”
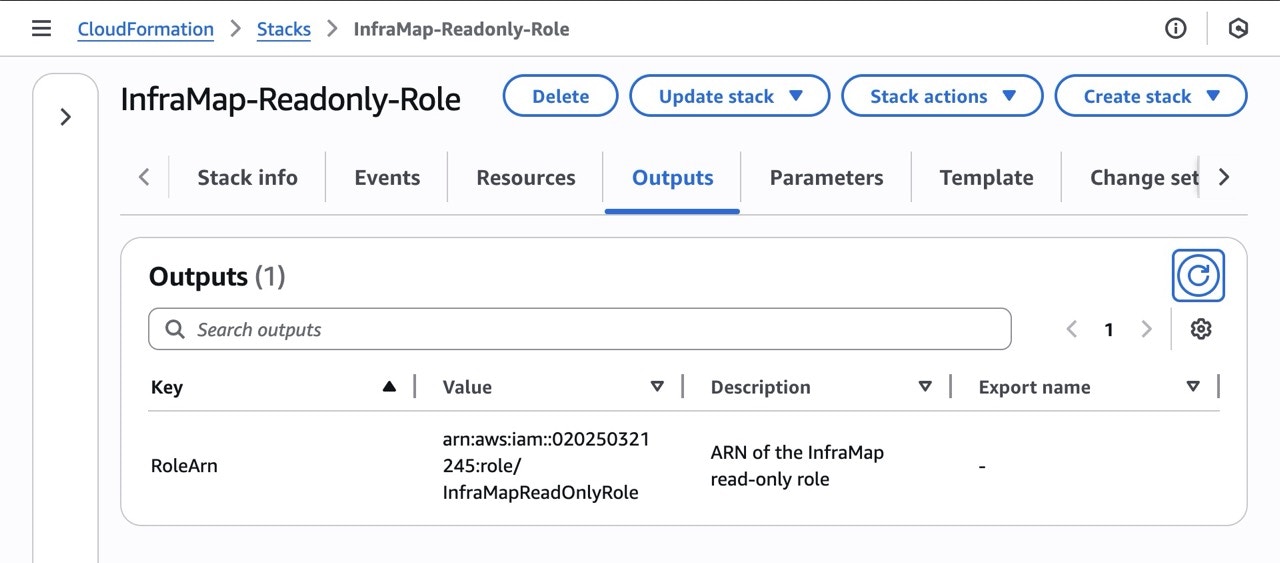
Step 5: Copy the IAM Role ARN
Once the CloudFormation stack is created successfully:- Go to the Outputs tab of your CloudFormation stack
- Copy the IAM Role ARN (it will look like:
arn:aws:iam::123456789012:role/inframap-readonly-role) - Return to the InfraMap connection page
- Paste the IAM Role ARN into the connection form
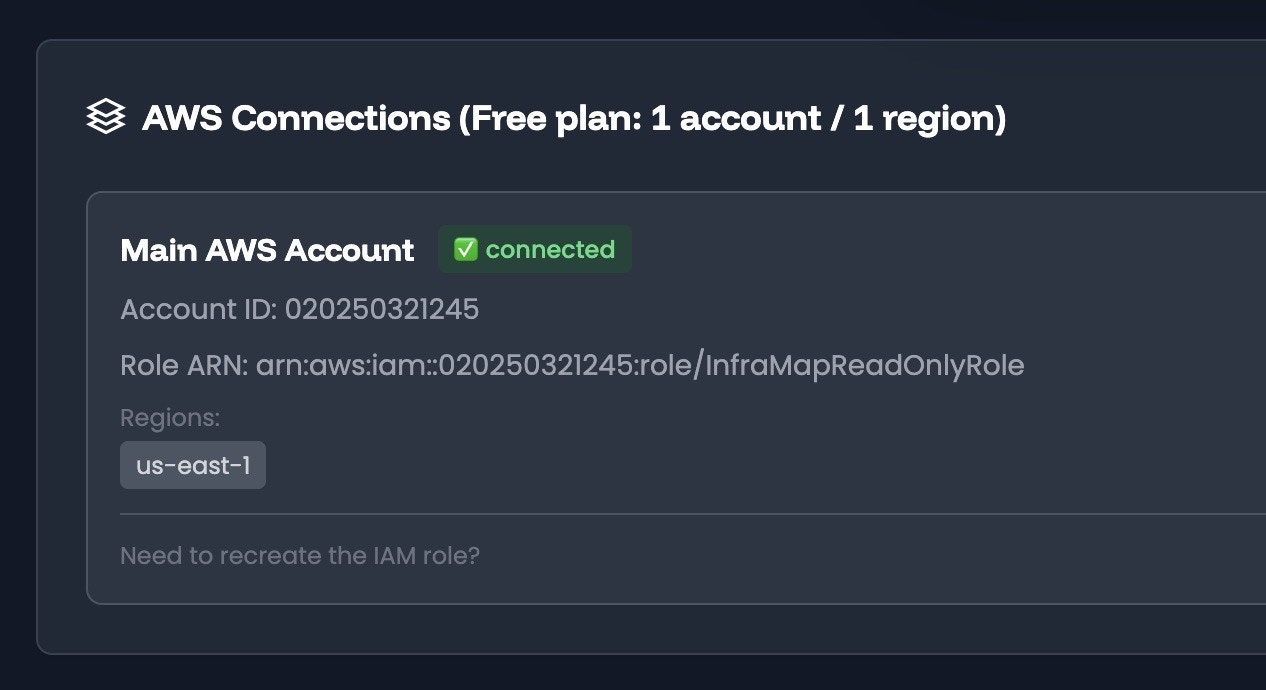
Step 6: Complete the Connection
After pasting the IAM Role ARN:- Enter a connection name of your choice
- Select regions you wish to cover (1 region for Free plan)
- Click “Connect”
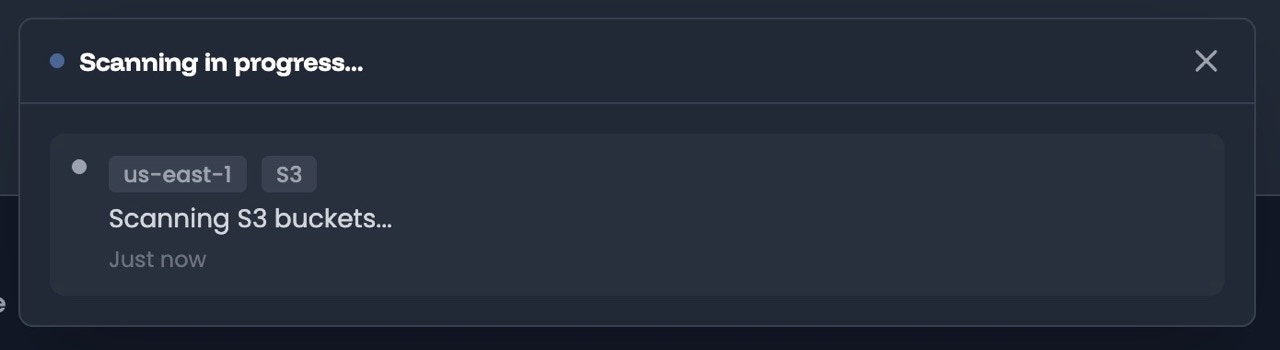
- InfraMap will verify the connection by assuming the role and will then kick off a scan of your infrastructure.